Put a fork in it…our Full Wall Wainscoting is complete!
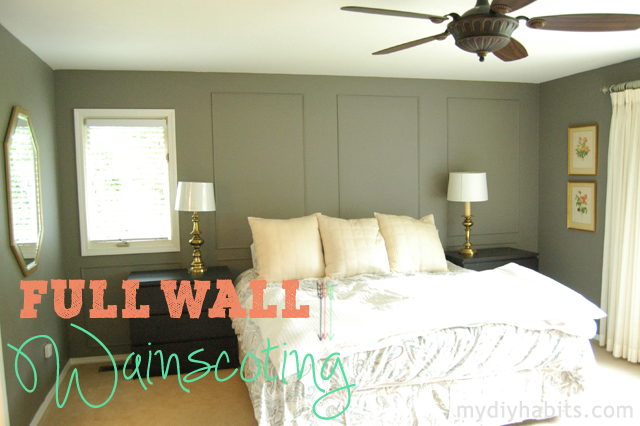
If you haven’t been following along or if you are new to the blog….I have been working on a Master Bedroom overhaul…that was oh so needed!!! I shared some inspiration {here}. Step one in transforming the new room was to create a bit of symmetry and balance around our oddly placed window and that’s where the decision to add wainscoting came in!
I’ve been posting this project in stages {Part 1} and {Part 2}(but I also listed a full recap below).
Here is the room prior to the project…so dang boring.
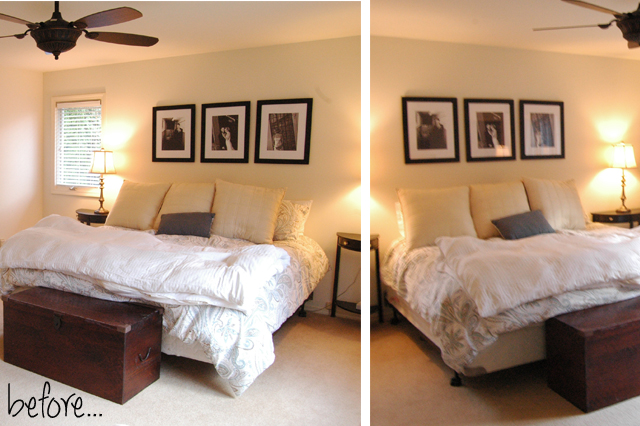
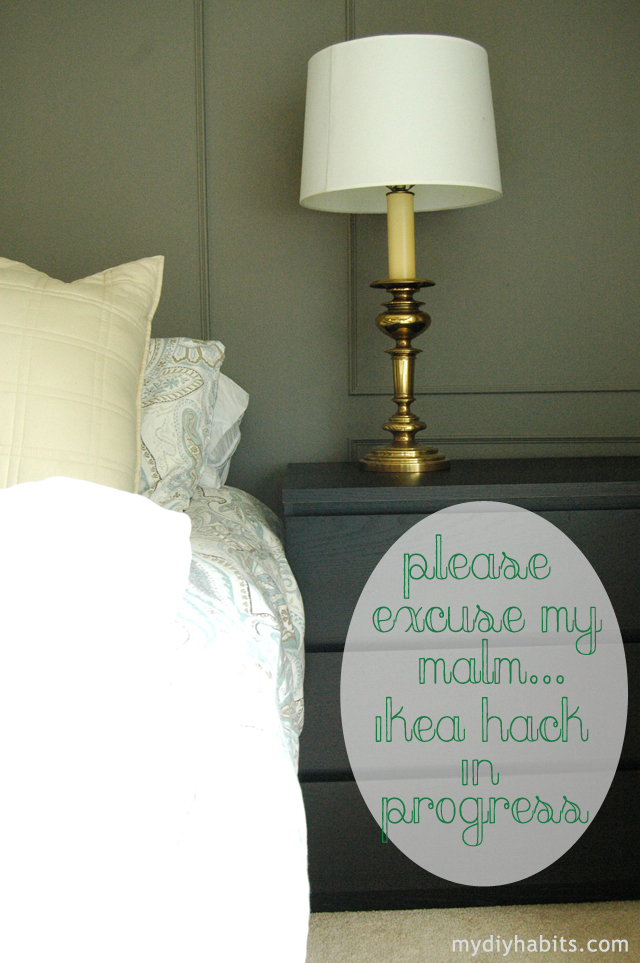
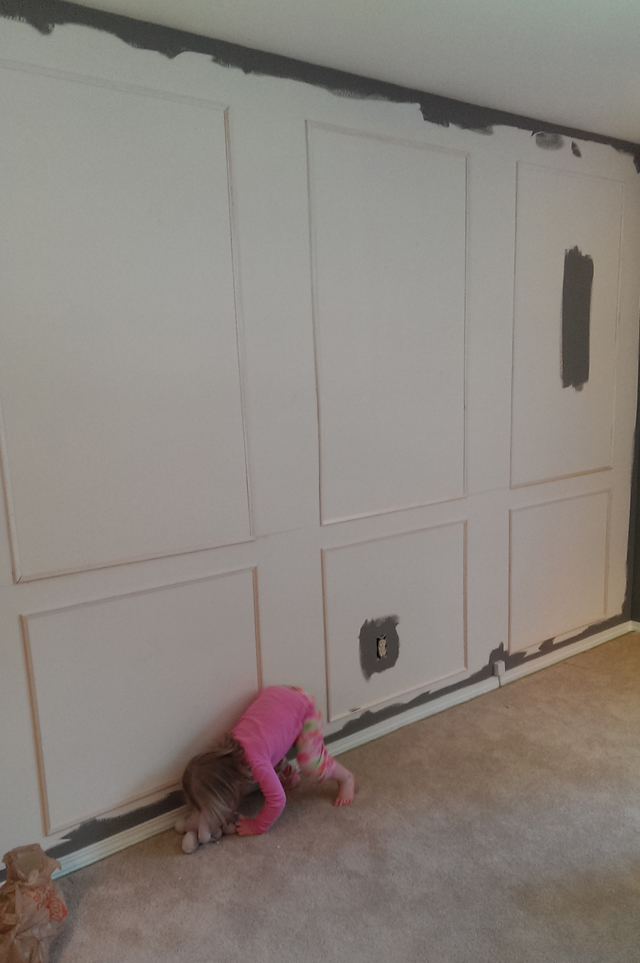
Here is the progress…again, you can read How To’s in
{Part 1} and {Part 2}. Final steps was to Prime and Paint!

And another Before and After for comparison….
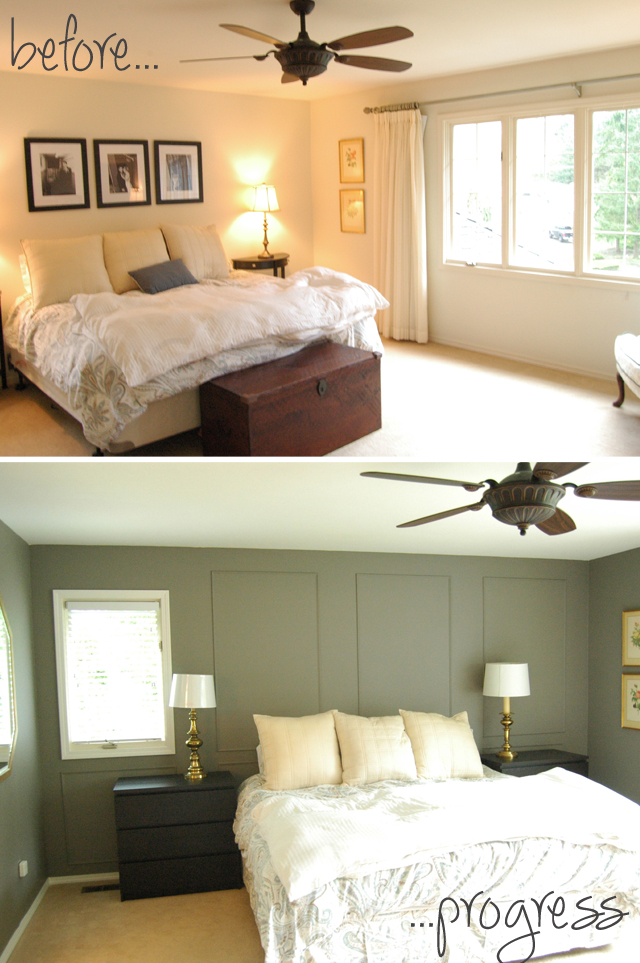
To continue the battle of balance, I will be adding floor to almost ceiling curtains (obvi at the same height as the wainscoting and the other curtains) and also add some art on the right side of the room.
So I hope you like the Dramatic change as much as I do! This room is already transformed and I’m only 20% complete! I have so much more planned so check back! I’m gunna be busy!
Full Wall Wainscoting Time Breakdown:
1 hour of measuring and marking
1 hour of cutting
2 hours of applying the molding
1 hour caulking
1 hour priming
1.5 hours painting
30 minutes touch ups
Total Time: 8ish hours to complete
Full Wall Wainscoting Cost Breakdown:
$75 for molding from Home Depot (about $6 for 8′ of molding)
….everything else was already owned
Tools for Wainscoting:
- Picture Frame Molding – I found mine at Home Depot it is 3/4 of an inch thick. I got real wood vs MDF (more expensive but better quality)
- Zinnser Primer – I suggest priming the molding before you nail them in
- {Power Grip}– to adhere molding to wall before you nail it. Home depot in Caulking section
- Pneumatic Brad Nailer & Nails – or a powerful nailgun
- Miter Saw – or saw that allows for angle cuts on a 45 degree angle
- {Framing Square} – to make sure your boxes are square!
- A level
- A rag to wipe up excess power grip glue as needed
- Paint-able caulk and a quality caulking gun – all from home depot
- {These caulking tools} – LOVE THEM!
- A Nail set & hammer – to pound in nail heads so they are under the level of wood
- Light weight wall putty– to fill in nail holes after they have been set
- Your PAINT!
How To create Full Wall Wainscoting
1) Mark & Measure: literally draft up what you want the wainscoting to look like. First I made a quick spread sheet in excel to calculate. I knew I wanted 4 boxes across the wall and I wanted to replicate the size/shape of the window on the left….remember my whole goal here is to create symmetry. Then I take my yard stick, a level and pencil to mark up the wall and draw reference points for the wood. From this you will get the measurements of how much molding you will need to buy! I got mine from Home Depot.

2) Cut Wood: measure and cut on a 45 degree angle. Make sure to remember which side of the wood you want on the inside or outside of the box and always cut in the same fashion. I prefer the thicker part of the molding to be on the outside of the box.

3) Bond and Nail: This is the fun part…where you get to see your project transform the room! Start by building your square in stages. Every piece of wood will need a stripe of Power Grip Adhesive. First set the top piece…use your level to make sure it is even, then nail across. Next, take your left piece and your square to ensure a 90 degree angle then nail top and middle (leave bottom un-nailed for the time being). Move to the right piece and repeat the previous step. Add the bottom piece, use level and square again, then nail across bottom and bottom and add the final nails to the side pieces…spot check everything is secured. Don’t forget to use a rag to wipe off any excess bonding agent.

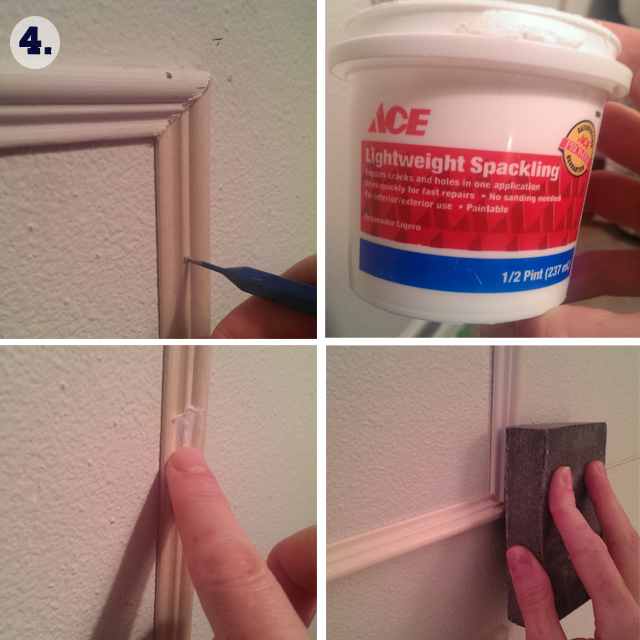
4) Set Nails, Fill holes & Sand: This part is very self explanatory….literally set the nails (hammer and nail set), fill the holes with a lightweight spackle and sand.
5) Caulking: For best caulking results I think a high quality gun it key. I used a paintable caulk for interior/wood use and took care to cut the tip on an angle (I think it helps with application). For this job, I always have a garbage bag and a roll of paper towels near by…you will wipe off a lot of excess {here are my favorite caulking accessories}. This job can get messy!

6) Prime and Paint: I used Zinnser 123 Primer and the color is Chelsea Grey Benjamin Moore.
Thanks for reading peeps have a wonderful weekend and let me know what you think about the project!!!
