I’m cheap…ahem thrifty and I seriously dislike wasting paint. It’s bad for my wallet….but also bad for mother earth!
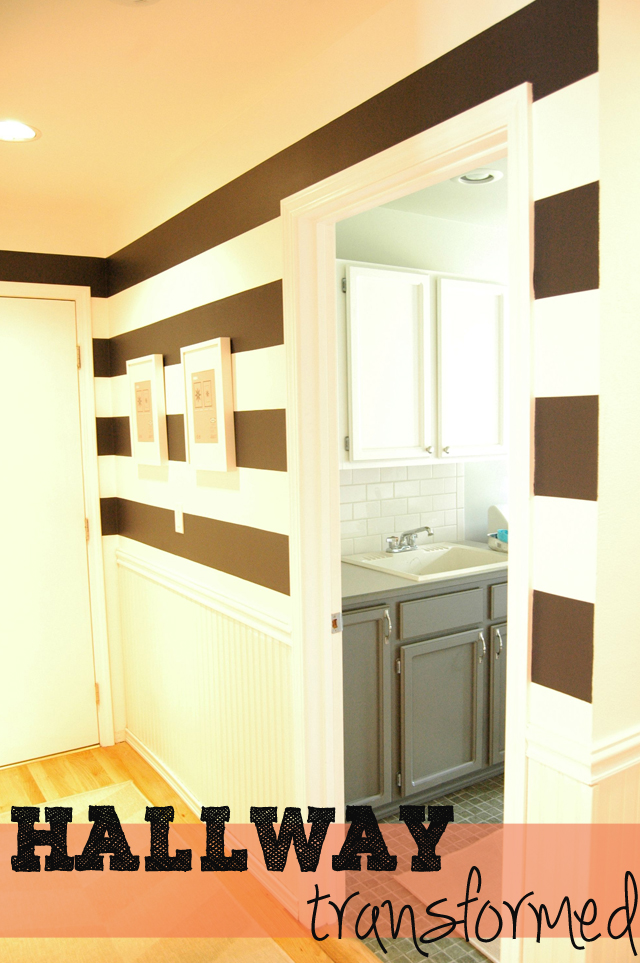
So ever since I completed our {Powder Room Renovation}, I have been sitting on a half gallon of Benjamin Moore Hale Navy…that’s like $25 of really good paint! So I took my distaste for wasting paint, combined it with my love for all thing preppy and transformed our Hallway!
Let’s be honest, the striped Hallway trend has been done before…seriously it’s all over Pinterest! But this project Rocks for three reasons…
1) It makes a statement…”I’m preppy and I’m not afraid to show it!”
2) It’ was essentially free (I did have to buy more Frog Tape)
3) Most importantly…I got to keep old paint out of a landfill!

If you haven’t painted stripes on a wall before here is a quick tute and some tips for you. And all street credit goes to Ashley…she taught me how! Thanks Ashley!
Painting Stripes Supplies and Price List:
- Base Color (Simply White – Benjamin Moore) – $0 already owned
- Stripe Color (Hale Navy – Benjamin Moore) – $0 already owned
- Frog Tape – $9 …I had to replenish supply mid project!
- Roller and Brush – $0 already owned
Total Cost = <$9…I did have to replenish my frog tape supply
Painting Stripes How To:
- Paint your base color
- Measure and Mark
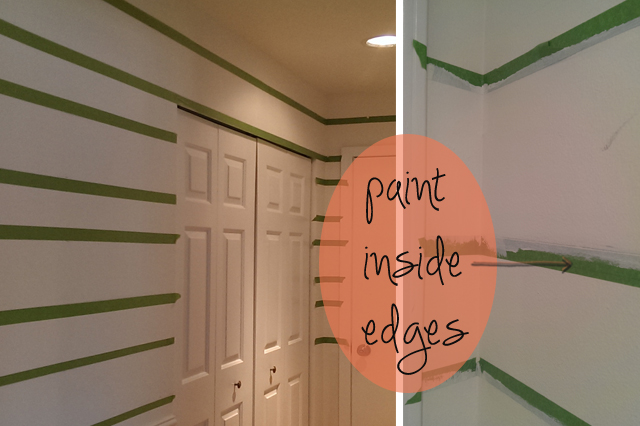
- Apply frog tape & firmly secure to wall (apply on the inside of the white/lighter color stripe)
- Paint the inside edges of tape with white/lighter color – this will bond the tape and prevent the darker color from leaking through…remember to firmly secure tape…run over edges with something firm, like a spatula!
- Paint your Dark Color
- Touch up any bleeding!

Lets be honest…the method isn’t fool proof and I had to do a ton of touching up!!! But now my lines are straight and clean…very very important!
Here you can see the plain hallway compared to the new one…Love Love Love.
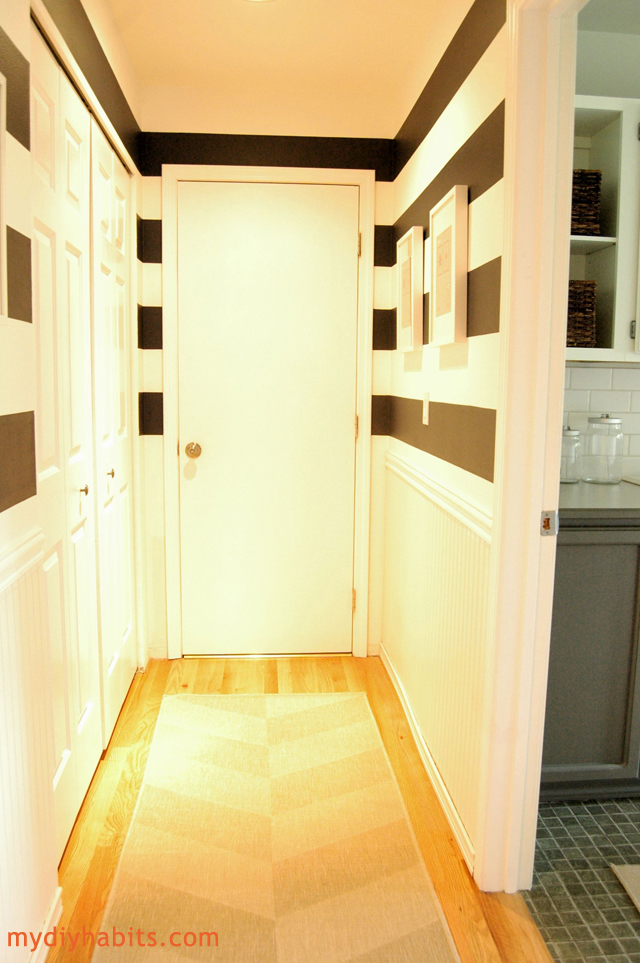
I did add a few frames to break up the stripes and I plan to frame some small squares of paper or fabric…I’ll just add that to the To Do List!

and one final shot…
***disclaimer the wainscoting in the hallway is not my crafty work. It needs a some help, that’s on the wish list also!

I hope you liked my cheap, easy and kinda sorta eco-friendly project. I’m thinking about what I should do for the ceiling light also…maybe a wood pendant light like {this one}? Pretty sure I can DIY something like that!
