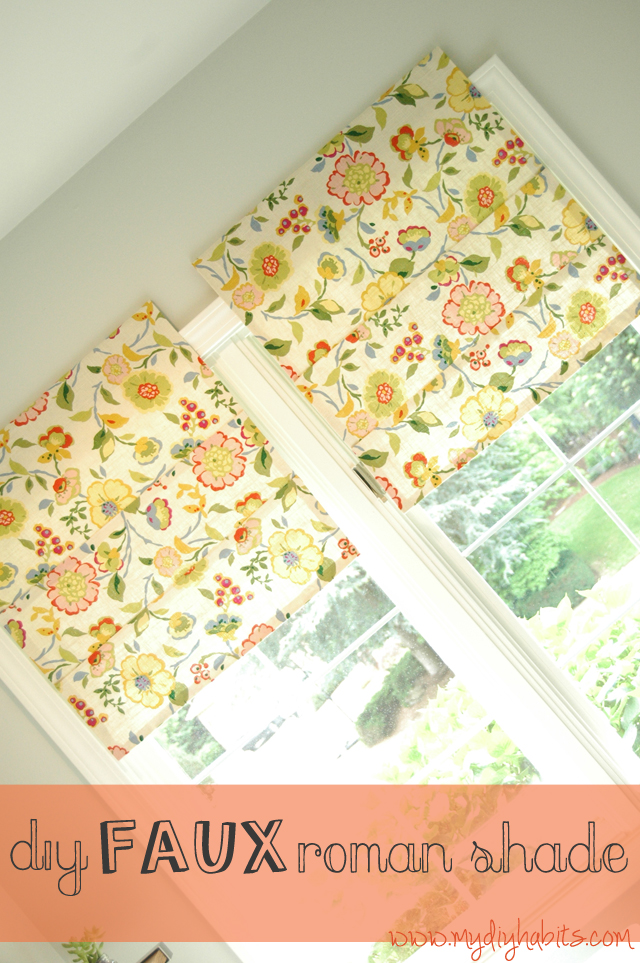
This past week I have been focused on expelling junk in preparation for our Annual Neighborhood garage sale (30+ homes)…when I found a few yards of unused fabric that I purchased a long time ago. I can’t remember why I bought this linen floral fabric but I was pretty stoked to reconnect with this cute stash of adorableness.
I have been searching for weeks for a fabric to make curtains in the laundry room…but I was coming up short every time.
No I Finally took “Laundry Room Curtains” off my To Do List and I’m over the moon to say that this project was Free for me since I already owned everything…Two Cheers for Hoarders!
So here is my down and dirty, cheap and easy, Faux Roman Shade How To…

Making a Faux Roman Shade was a great option for me since our house is set far off the street and on a hill…so no one can even see in the windows. Plus I love having the room in a constantly Bright and Airy feeling…If you prefer a Roller Shade I have a tutorial on that {Here}.
DIY Faux Roman Shade Supplies List:
- Fabric of choice in appropriate size
- Stitch Whichery
- Iron
- Scrap Wood – mine was 2″ wide and .5″ thick
- Screws and Drill
- Staple Gun

I set the new window treatments above the windows…I saw this in one of Jenny Komenda’s (Little Green Notebook) room’s that she styled and I love how it adds some drama and makes the ceilings feel higher.
DIY Faux Roman Shade How To:
- First I cut my wood to the width of the window and predrilled holels for securing into the wall
- Next I measured the window and created a curtain with the sides and bottom folded and secured with stitch witchery.
- I used a staple gun to secure the top part of the fabric to the wood

- For the Faux Roman Shade portion I just folded a “lip” in the fabric and used stitch witchery to secure in place. It’s hard to describe…I’m not using technical terms…but the picture says a thousand words.
- Repeat as many time as you desire…I only made 2 folds.

- Measure, Mark the wall and drill.

The Project was incredibly simple and it only took me from start to total complete finish and even clean up…2 hours!
Here is a quick before and after…
And my favorite Final Shot…because they are just so stinkin’ cute!

I hope you enjoyed and I will be back asap With a Full Reveal and cost breakdown of the Laundry Room...FINALLY!!!
If you follow the blog and you haven’t liked us on Facebook yet…Hurry because today is your last chance ever! Just kidding. But you really should…show the love! Have a wonderful week now I’m off because Home Depot is delivering a truck load of fencing materials and I gotta down 3 cups of coffee before I get my demo mode on!
