And I’m back today with the next phase of your Den Fireplace Project! Progress is being made and things are shaping up to be near completion by Thanksgiving….which is good since I typically host every year! So here is where I left off…
Den Fireplace Inspiration
Den Fireplace Project Phase 1 || Adding Drywall
Den Fireplace Project Phase 2 || Tape, Corner Bead and Make Seamless
and for today…
Den Fireplace Project Phase 3 || Cover old Brick with Tile
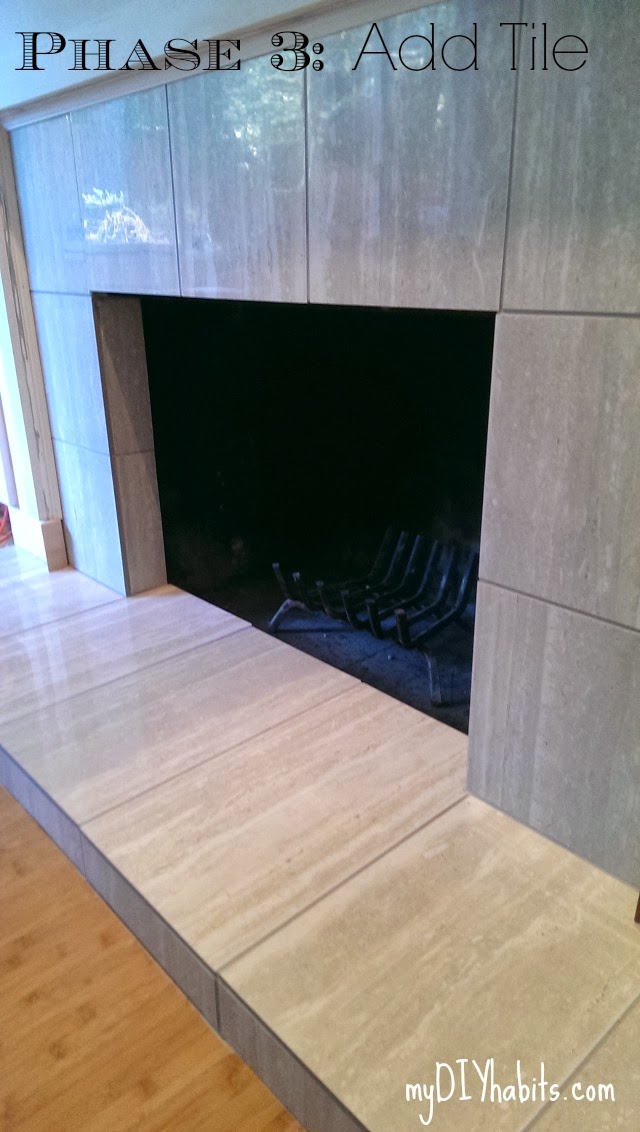
This part of the project was way more fun and interesting then Phase 1 and 2 when I learned that Dry Walling is just not my thang. I actually really enjoy tiling and have done a few other tile projects in the house…Herringbone Tile Floor || Kitchen BackSplash || Laundry Room Subway Tile.
My original inspiration was a grey modern slightly contemporary look. I REALLY REALLY wanted to use a marble carrera in a subway or mosaic pattern. But after researching and speaking to some tile professionals I was shy’d away from this because we have a real wood burning fireplace. One thing I didn’t notice when gathering inspiration was that I was inspired by non-wood burning fireplaces! And why does that matter you may ask…well apparently the tile that you use is significantly different from a non-functioning vs, gas burning vs. wood burning. Marble and similar products can actually change color on a wood fireplace due to heat and soot. I was told to focus more on a porcelain tile…and sadly I found it very difficult to find tiles that I LOVED in this category. But finally I came across my tile of choice; it was in my budget, a green product and had a very beautiful color and pattern.
I also decided to forgo my original plan of a subway or mosaic pattern and went with a larger tile. After spending days scrubbing soot off of the old brick I decided less grout to clean and manage would be a life saver for me. And in the end I found that large tiles reduced the brain teasing math needed to tile all the angles/corners and also reduced the physical labor…which my pregnant self was thankful for!
Den Fireplace Project Phase 3 || Cover old Brick with Tile
Update an old Brick Fireplace with Tile : How To
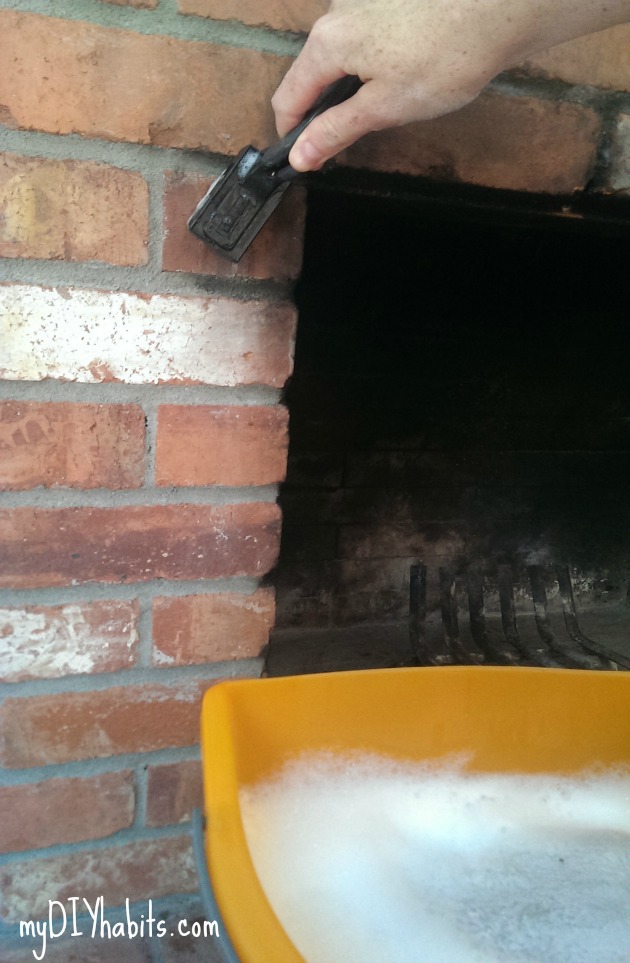
Clean, Clean and Clean the bricks – I used a dawn soap, white vinegar and warm water solution. To scrub the brick I used a wire brush and wiped away suds and soot with a warm rag.
Add a even Layer of Thin-Set Mortar to Bricks – once clean and dry, I added a layer of thin-set mortar over the bricks. This will help create a level surface and assist in the tile bonding to the bricks. Prepare according to package (I prefer to use the powder vs the pre-mixed) my consistency was mayo/creamy peanut butter. Make sure it is not too watery or the mortar will not adhear in a smooth consistancy and can drip.
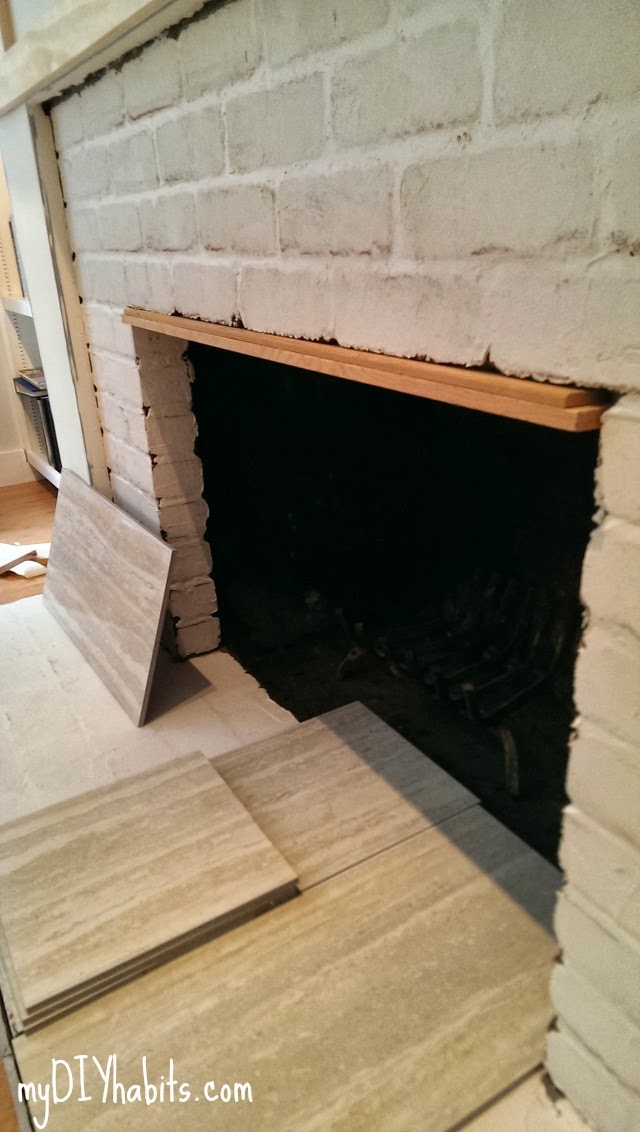
Start Tiling – one trick I learned is that you should use wood to create a level ledge that will keep the top bricks in place. This top area is best completed first. Then work around…I don’t have a thorough “How To” on Tiling but you do it once and you will never forget how…it’s so simple. YouTube has endless tutorials…
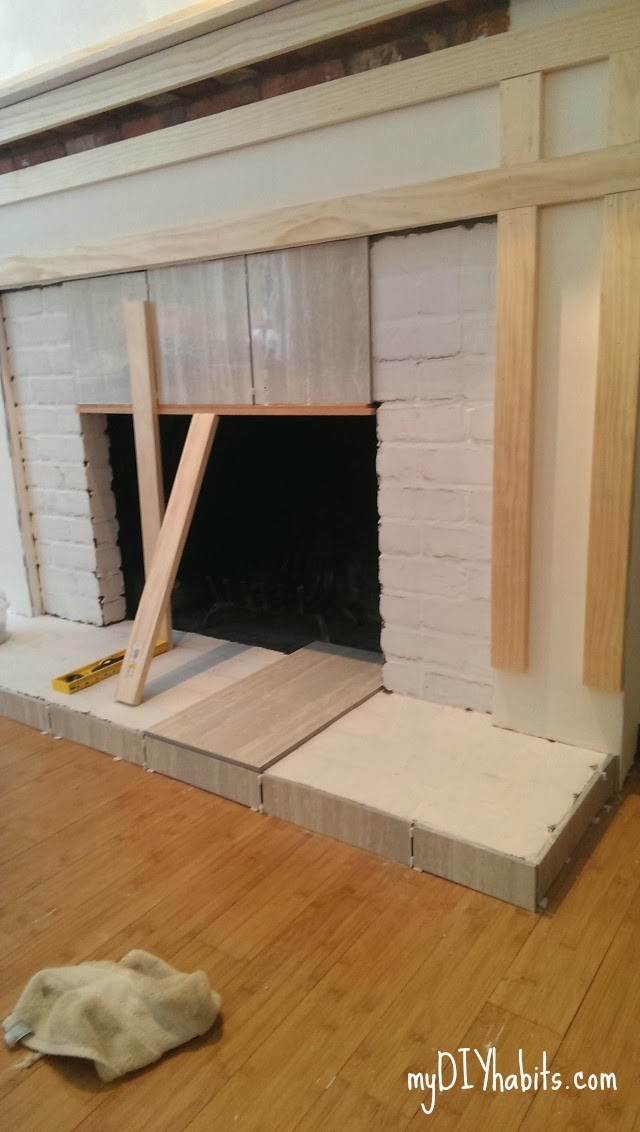
Grout your Tile – once the tiles are set and mortar is dry (wait over 24 hours at least) then you can grout. Again, check out YouTube for good “How To’s”…
Seal your Grout – ok finally I have a decent sealing grout tutorial to offer you!
Also Read: when does mcdonald’s stop serving breakfast
Update an old Brick Fireplace with Tile : Materials Used
- Tile of choice – make sure to buy extra
- Thin Set-Mortar – this bag is large…but it has gotten me through multiple tile projects….just don’t set it on unsealed concrete and it will last forever.
- Spacers and trowels
- Tile Saw
- Grout of Choice – (remember 1/16 spacers and smaller you can use non-sanded grout…anything larger go with a sanded grout)
- grout float
- Buckets for mixing mortar and grout
- Grout Sealant – tutorial here
Update an old Brick Fireplace with Tile : Project Time Frame
- Tiling took a total of 8 hours (2 – 4 hour days)
- Grouting took a total of 3 hours.
So there you have it…progress is being made. Next week I think I will have to unleash this project into the world and do my favorite Before and After’s. There really is one more phase to the project and that is all the word working and mantel building…but I fear this post would ruin the before and after greatness…so I’m gunna do things a little backwards here.
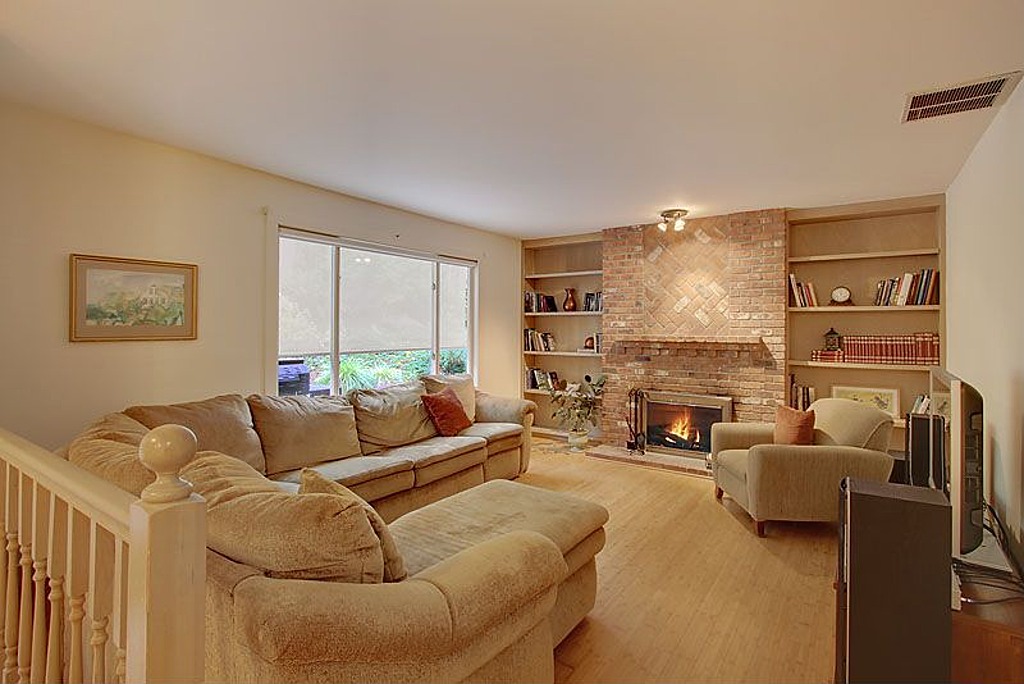
So lets do some time traveling to 2 years ago when we moved into the house…
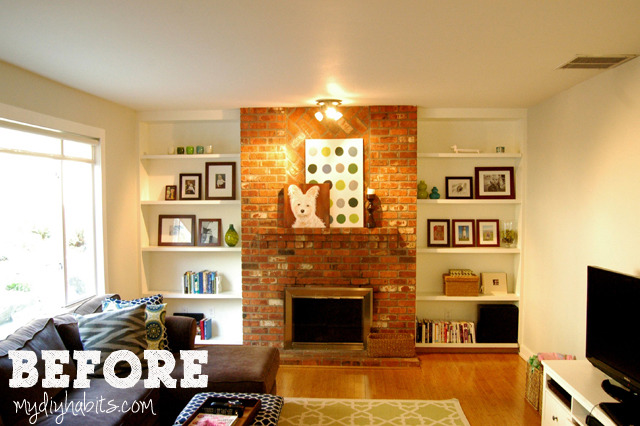
And then you have about 6 months ago…only thing changed is we painted the shelves Dove White and walls Moonshine Grey both from Benjamin Moore.
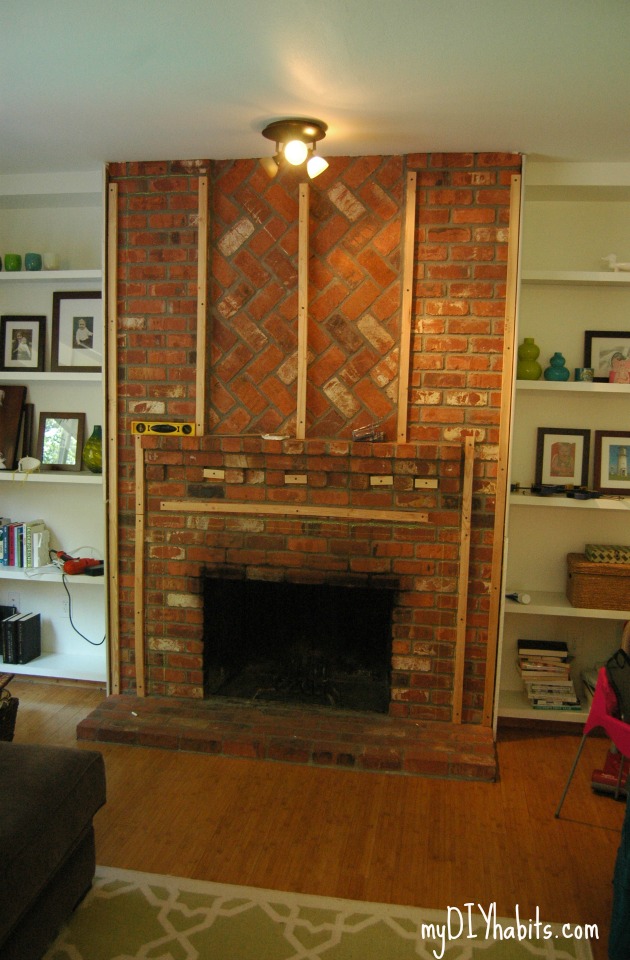
and progress on the project..
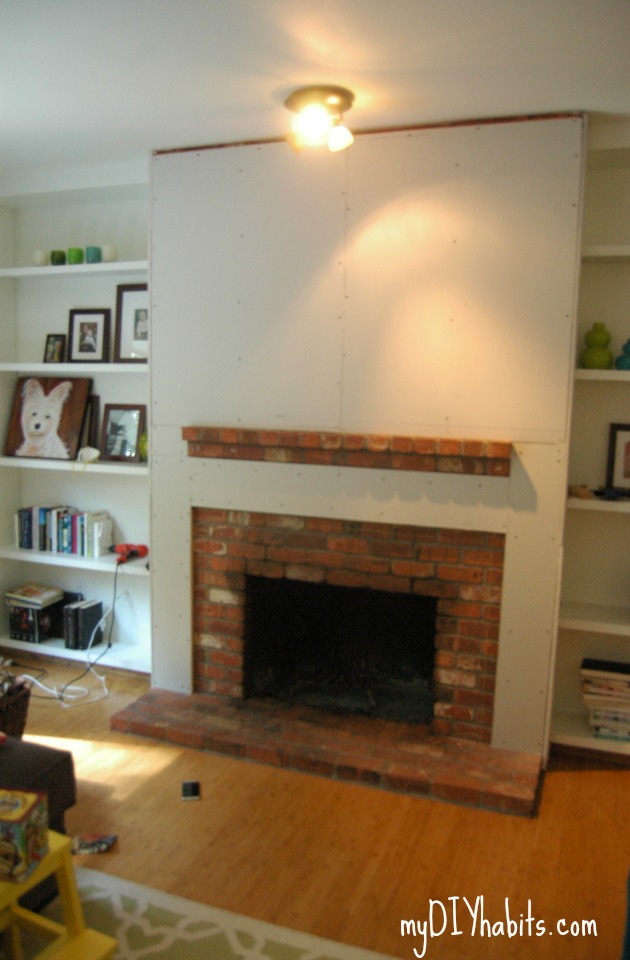


So I’ll be back soon with a fireplace Reveal…and let me tell you things are lookin’ good! I’m so excited to share with you all!
